The Craft:
Miscellaneous:
Finishing the wooden shoes
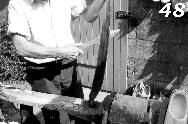 Fine
cutting or modeling is of course one of the last actions.
The oblong knife is used again which, for the record, is
sharpened once more (photo 48).
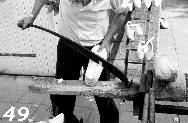 It is
extremely sharp now and the following finishing actions
are performed with it:
In the early days of this profession it regularly happened that lumpish or rude models were produced.
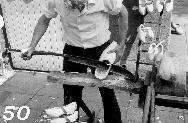 Next,
the beak is brought to the right size (photo 50). This means
that the hole and the hood each will take up half of the
total length. Also the edge of the hole may not be higher
than the ankle, otherwise it would hurt.
Next,
the beak is brought to the right size (photo 50). This means
that the hole and the hood each will take up half of the
total length. Also the edge of the hole may not be higher
than the ankle, otherwise it would hurt.A rule of thumb to determine the height of the edge is that it may not be higher than half the length of a finger. A tool that's always available.
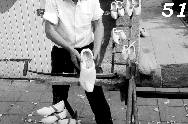
Photo 51 shows that after all this, the wooden shoes undergoes a critical visual inspection.
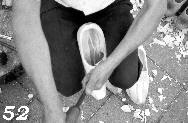
The edge of the fitting always takes some damage during. After removal of the damages, the edge is sharp again. Photo's 52 and 53 show these corrections.
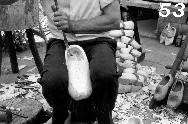
It has now also become possible for the wooden shoe maker to fully judge if the fitting is good enough. Possible adjustments are usually small by nature. Often the wooden shoe maker sits down on a chair or a log and tightens the wooden shoe between his legs to quickly add some finishing touches.


