
A chandelier built from an unusual combination of parts.
|
A chandelier built from an unusual combination of parts. |
  The main ingredient of this cd lamp is (guess what): CD's. I also used a bicycle wheel, an edison retro industry incandescant light bulb and some 3D printed parts, and voilá: Junk turned into a fancy chandelier. Credits: The original idea comes from Fablab Torino. |
||
|
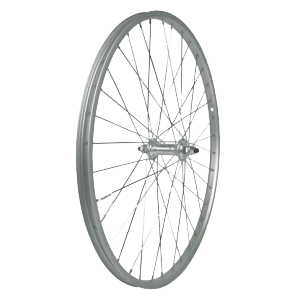
I started with the bicycle
wheel and took out all the spokes, I salvaged the hub
and discarded the rim (maybe for another project? You
never know). Then I polished the spokes and the hub.
That was the easy part, and I didn't take the effort to
take any pictures of that. As I recently built a Prusa
i3 3D printer, i was able to print an essential part in
the whole design: The so-called CD-Clip that I
downloaded from Thingiverse.
Download the stl-file directly by clicking on the
picture below.
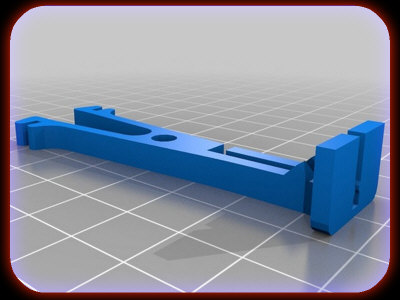  For the plastic I used PLA with copper to create a vintage look and printed 20 pieces. I actually needed 18 but one might break during the process so it is good to have some spares. As you can see it is a clever design that lets you attach this part to the outer end of a spoke which I first bent 90 º at the end. |
||
The next step involves the
hub. I always salvage fittings from old lamps, this one is a
type E27 with a long mounting shaft that goes all through
the bicycle wheel hub. First I attached a new copper colored
wire to the fitting and then I screwed it right through the
hub. To finish it off, I designed a lid that fit exactly
into the hub on the side where originally the brake pads
were mounted. If you're interested in the stl-file, just
click on the picture to download it. 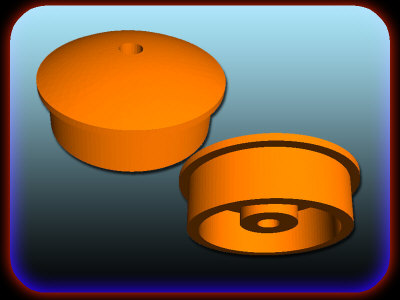 |
||
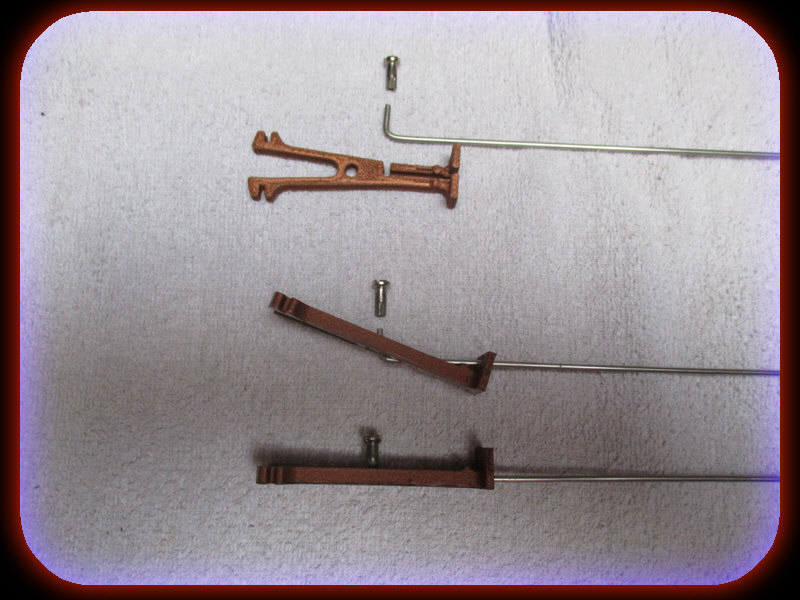
Now it's time to reassemble the spokes onto the hub.
Because it involves bending the spokes, I took the fitting
and the lid out to avoid damaging them. In order for 18
spokes to stick out equally and still fix them sturdy, they
are bent as shown in the next detailed picture.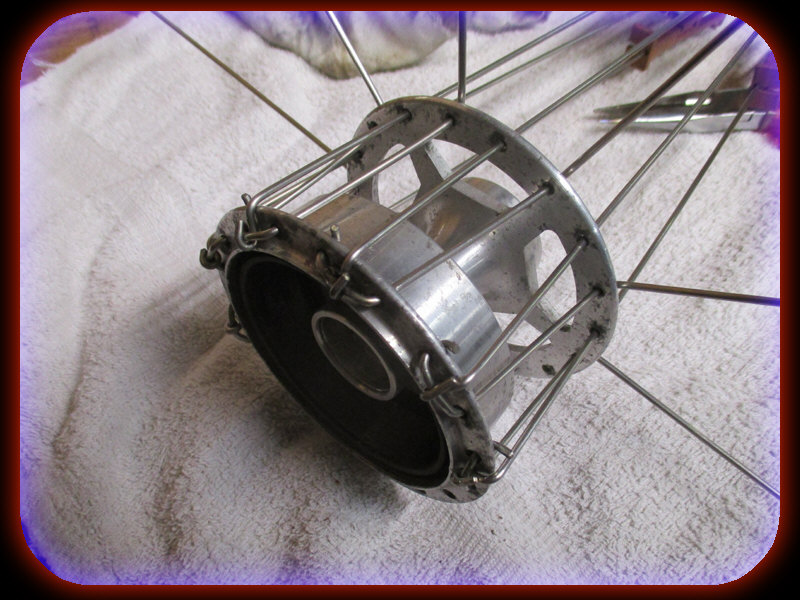 You end up with all these spokes sticking out. Now it's time to bend them into place. I opted for two circles but you can make any choice as to how you want it to look. 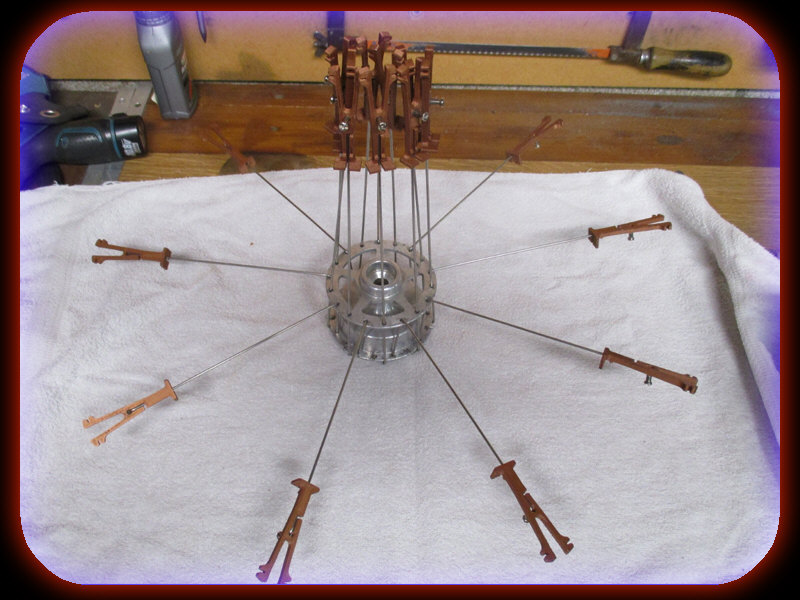 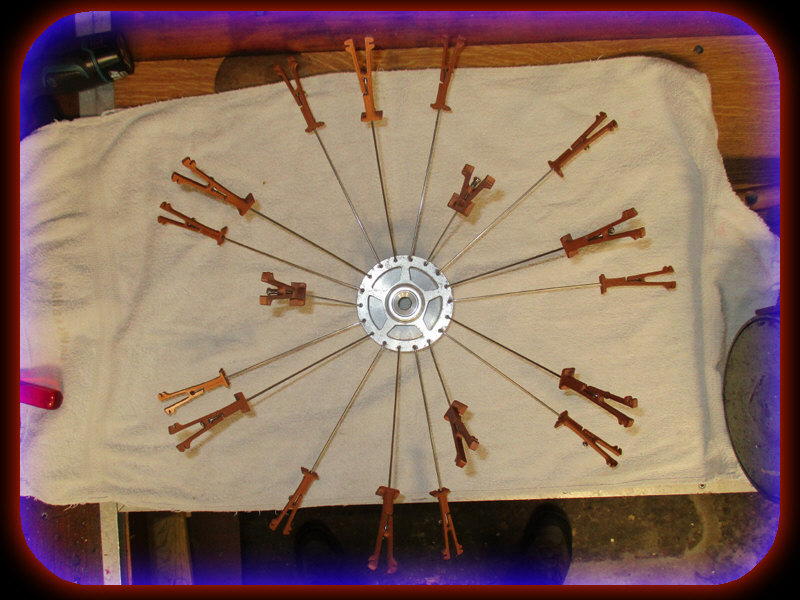 |
||
Almost
done. I designed an additional cap to cover for the electric
mounting point in the ceiling. Also made from the same
copper PLA. Download the stl by clicking on the picture. I
found an amazing light bulb on lightinthebox.com. You have a
variety of choices here but I chose the biggest one of
approximately 60W.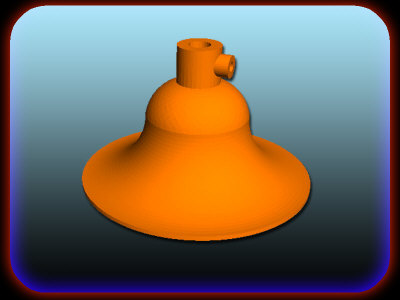  |
||
And
here is the final result in two different settings.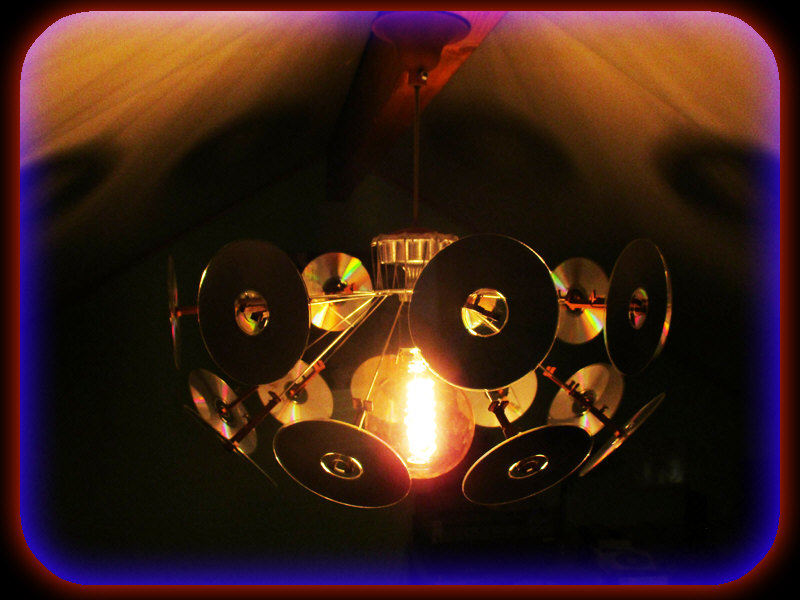 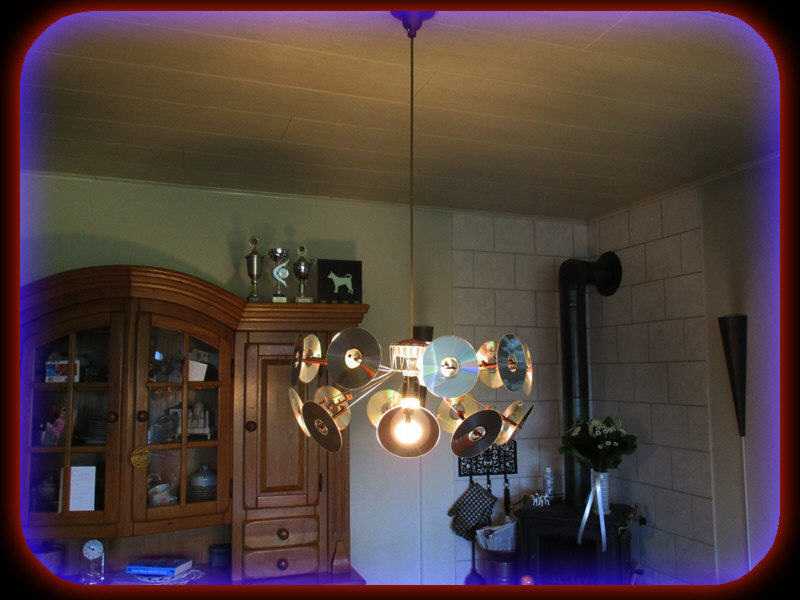 |