A steam powered cabinet to hold your CD's in one place and to keep the music fresh
|
A steam powered cabinet to hold your CD's in one place and to keep the music fresh |
 I
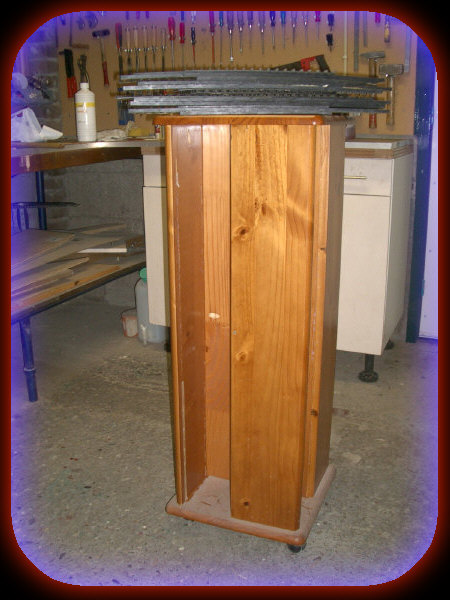
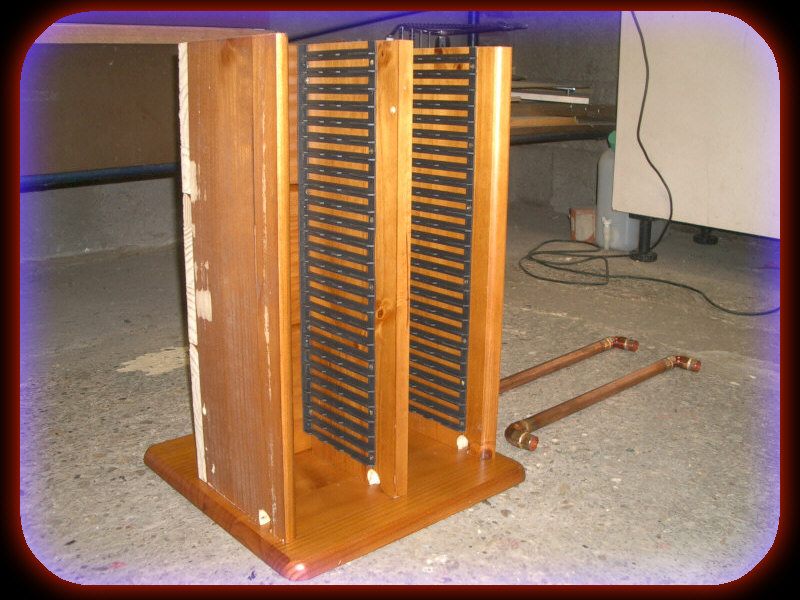
started with an old wooden CD rack as the picture shows on
the left. It is made of wood and can hold 4 columns of CD's
and it is mounted on wheels so you can I
started with an old wooden CD rack as the picture shows on
the left. It is made of wood and can hold 4 columns of CD's
and it is mounted on wheels so you can 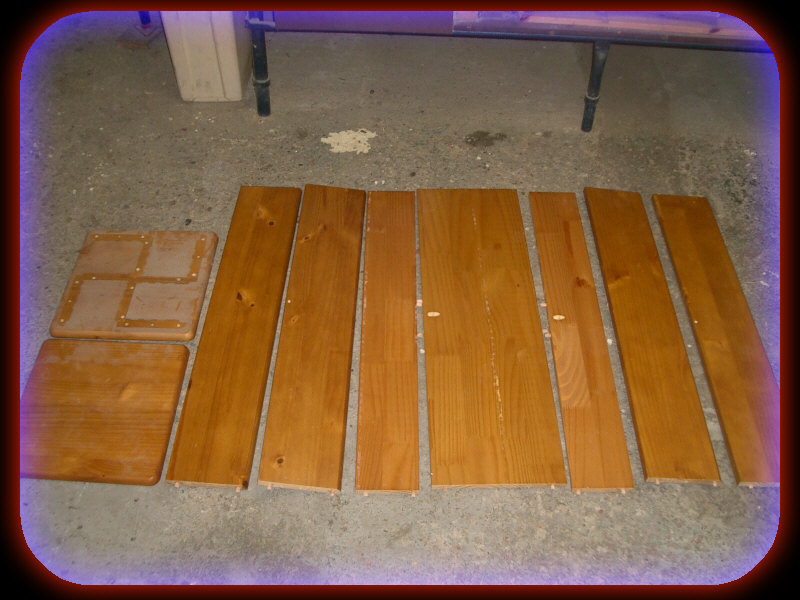 rotate it. rotate it. It looks like a greeting card display in a book store. First I removed the plastic strips that supported the CD's. You can see them lying on the top. Then I broke down the exterior into its individual wooden planks. The outside is rather undamaged. the inside contains scratches and screw holes. |
||||
Then I rebuilt the rack again
in what may seem a strange way: I used the nice and shiny
outside of the planks as the new inside. The top lid had
now become the bottom.
Because I wanted the new cabinet not to be as tall as the old rack, I trimmed the planks to a height that corresponded with 25 CD's (and a little extra space at the bottom). I mounted the equally trimmed plastic strips to the shiny inside and I also drilled some holes at the front of the bottom. These holes will hold the front feet that you see lying to the right. They are made from copper pipes that I had lying around and are ready to be mounted. |
||||
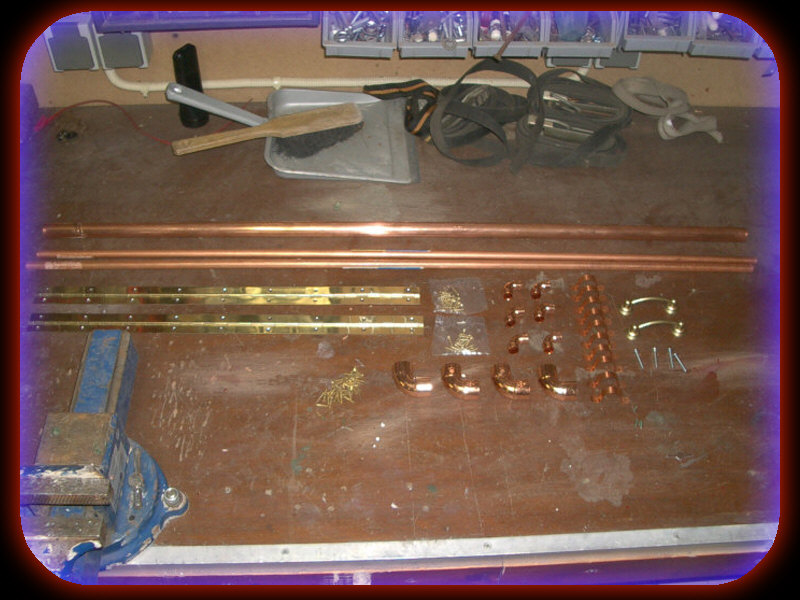 Then I went to the hardware store to buy some more copper pipes,
elbows, screws, a few handles and some brass piano hinges. I
went back 3 more times because at this time I didn't really
know what materials I exactly needed. I designed the cabinet
as I went along, with only a vision of how it should look.
Then I went to the hardware store to buy some more copper pipes,
elbows, screws, a few handles and some brass piano hinges. I
went back 3 more times because at this time I didn't really
know what materials I exactly needed. I designed the cabinet
as I went along, with only a vision of how it should look.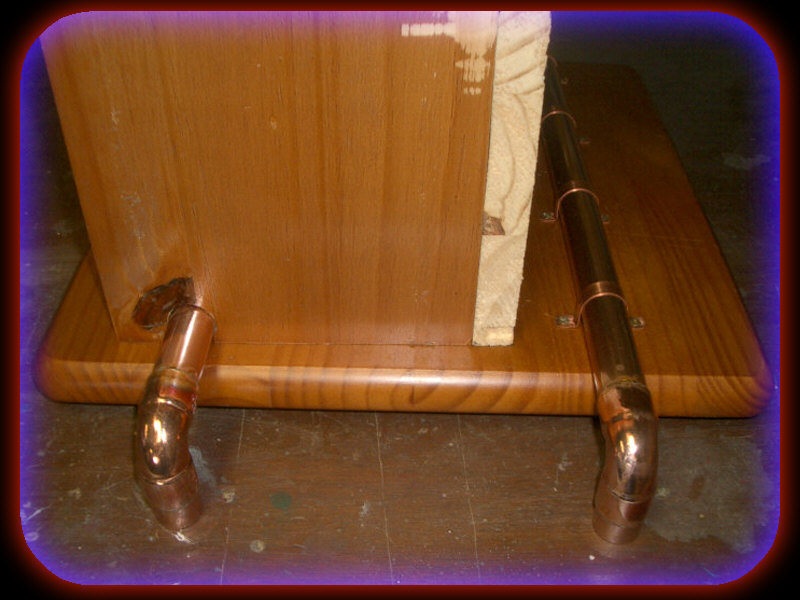 To the left you see a detail of how the feet are constructed. Since this cabinet was going to have a chimney, I wanted to add some flashing LEDs from a broken bicycle rear light. Therefore I mounted two micro switches in the center. The wiring is such that they make contact as soon as a door (left or right) will be opened. See below.  The time had
come to add some tatty old leather that I had lying around
from a really worn out leather couch. I covered the left
side, the right side and the rear side by stitching the
leather to the wood. If you look closely you can see that
the old stitching of the couch is still in place. The time had
come to add some tatty old leather that I had lying around
from a really worn out leather couch. I covered the left
side, the right side and the rear side by stitching the
leather to the wood. If you look closely you can see that
the old stitching of the couch is still in place. The wires from the micro
switches appear through the leather on the right side of
the cabinet. That's where the chimney will come.
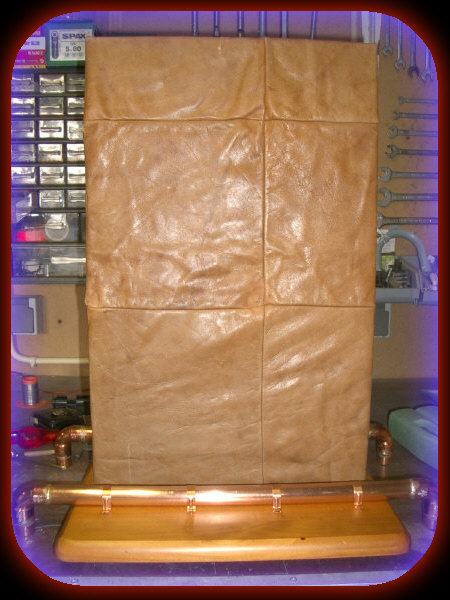 Also notice the piano hinges. The stitches are beneath the hinges and don't show anymore. Then I went to a second hand junk market and bought some brass ornaments from an old chandelier and a tiny oil lamp. Visiting the junk market was a great fun part because I didn't know what to find. And while browsing, the image of the steampunk CD cabinet that I had in my head was constantly changing. |
||||
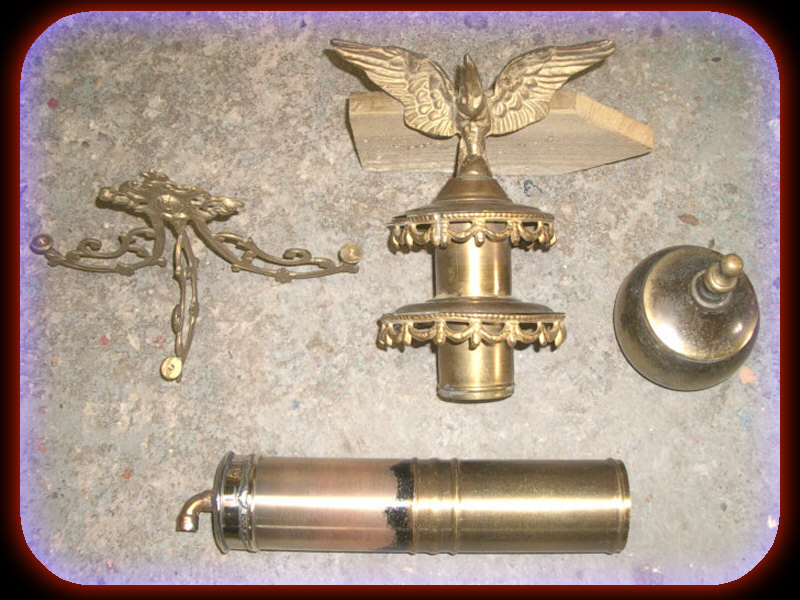 The cilinder at the bottom is going to become the chimney. You can see the different stages of treatment from right to left: The right end of the cilinder is still untouched. With a paint burner I removed the transparent lack in which the cilinder was covered. The black "dirt" in the middle is the burnt lack. The left part of the cilinder is already shiny because the lack remains have been polished of. On the utter left end of the cilinder I soldered the bottom of the oil lamp to which I soldered an elbow pipe. |
||||
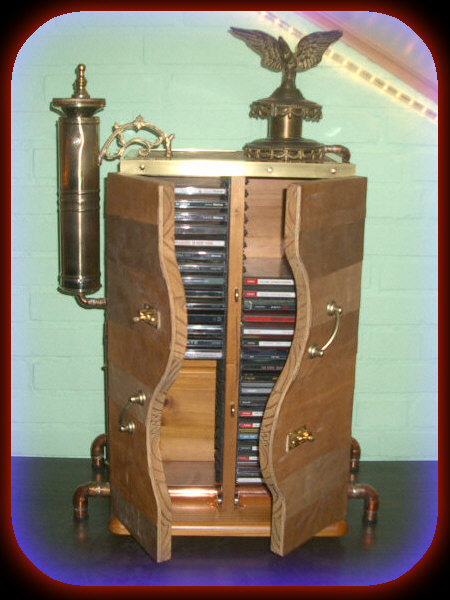
  The bottom of
the chimney is now attached with a copper pipe to the
cabinet. Because it was initially only supported from the
bottom, that was rather weak. I therefore mounted a handle
on the top of the cabinet that was soldered to the side of
the chimney. It holds the batteries, the electronic
circuitry and the blue LEDs. The bottom of
the chimney is now attached with a copper pipe to the
cabinet. Because it was initially only supported from the
bottom, that was rather weak. I therefore mounted a handle
on the top of the cabinet that was soldered to the side of
the chimney. It holds the batteries, the electronic
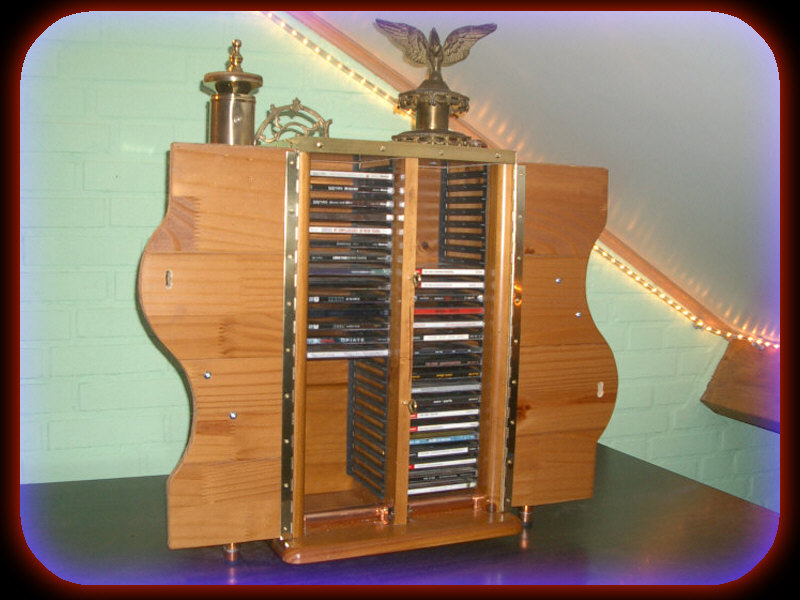
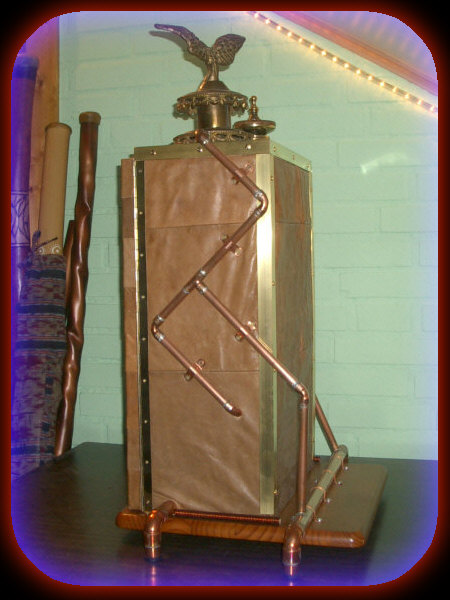
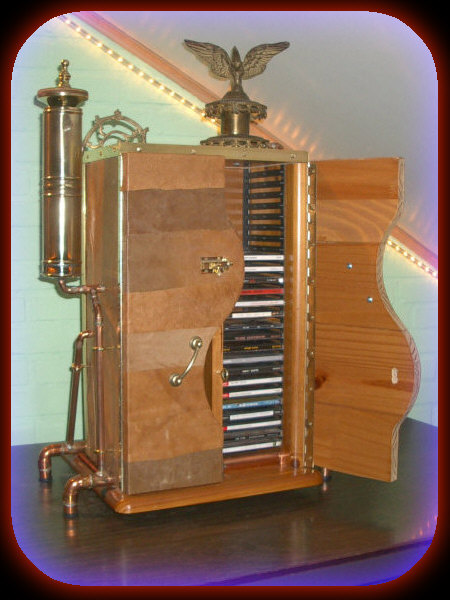
circuitry and the blue LEDs.What was left to do was to add some additional decorative pipes on the right side. They go up to the eagle on the top. Brass corner profiles cover the edges where the leather is stitched. Two asymmetrical doors completed my first steampunk project. Below are some more shots of the final result. |
||||
 |
 |
 |
||
 |
|
|||